This post may contain affiliate links. If you click and buy, we may earn a small commission at no extra cost to you. Learn more.
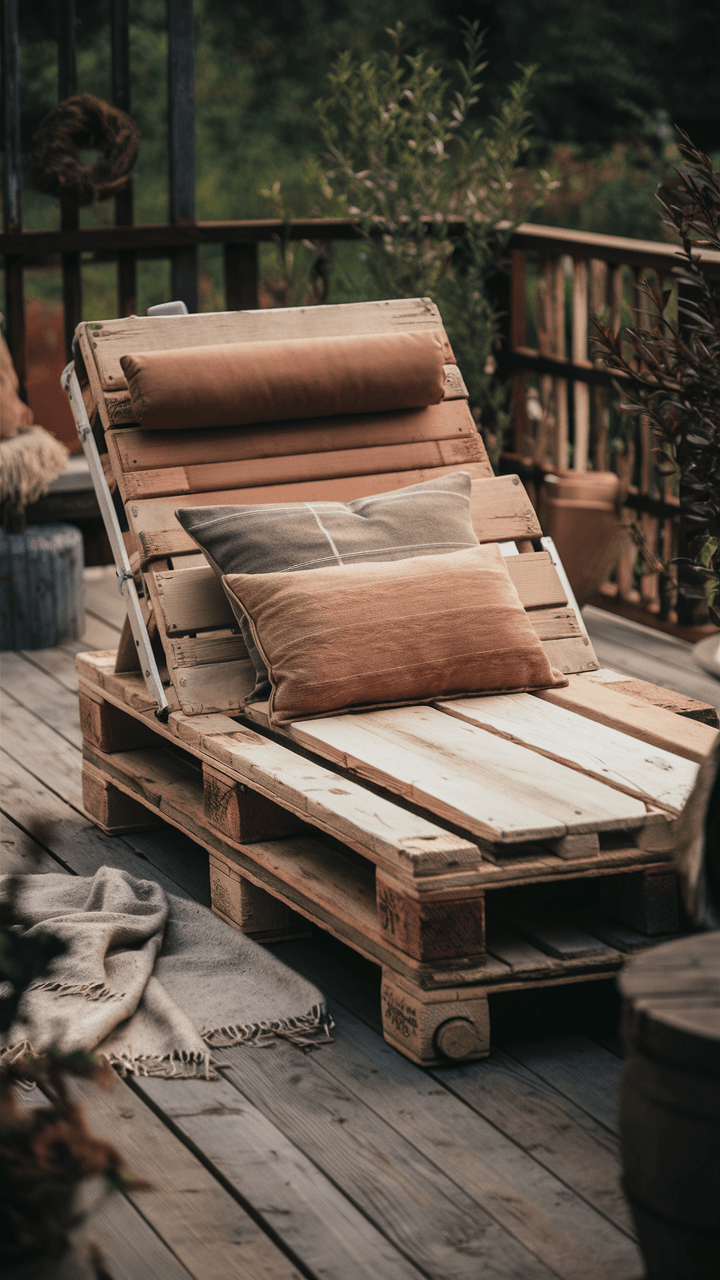
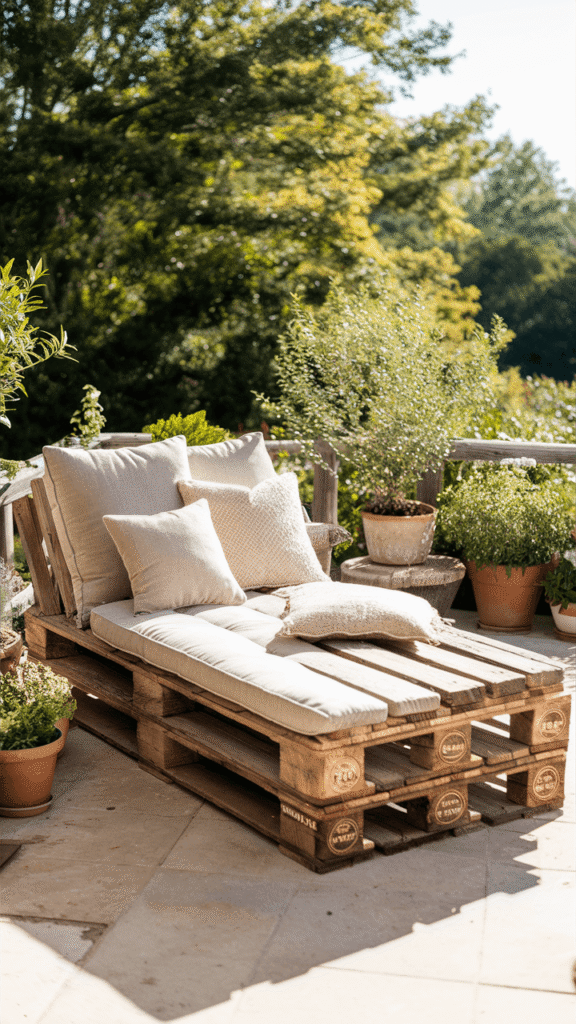
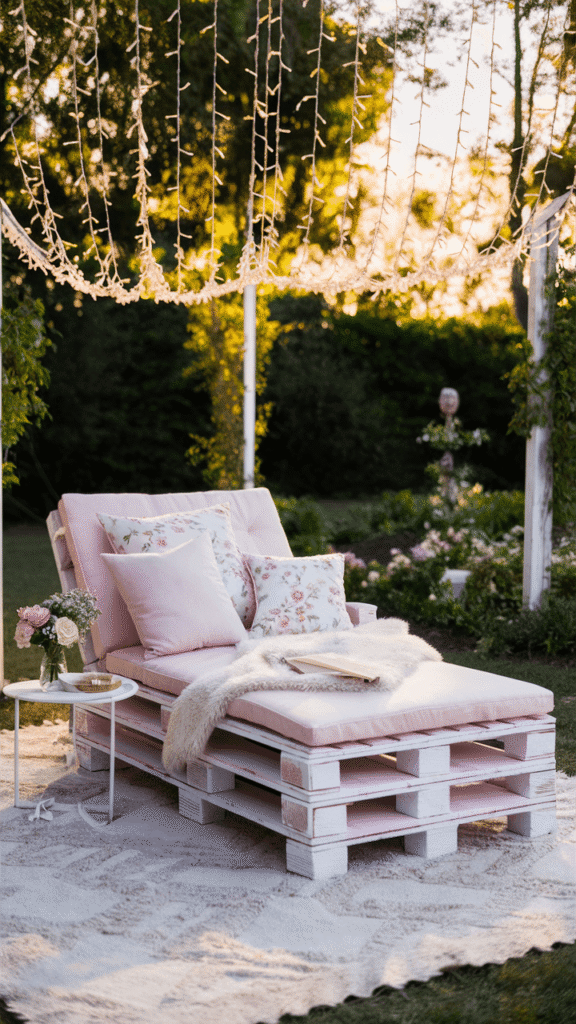
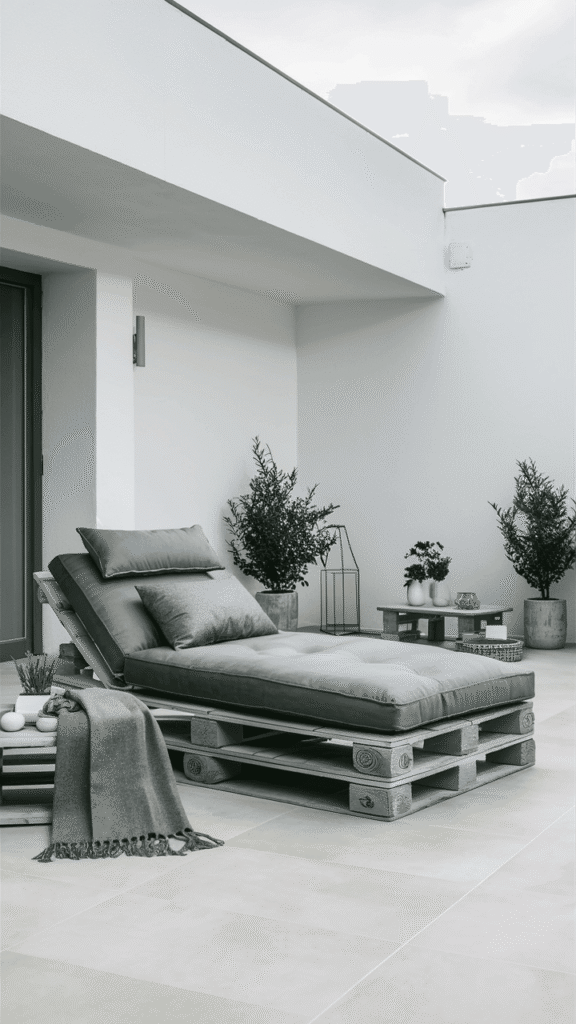
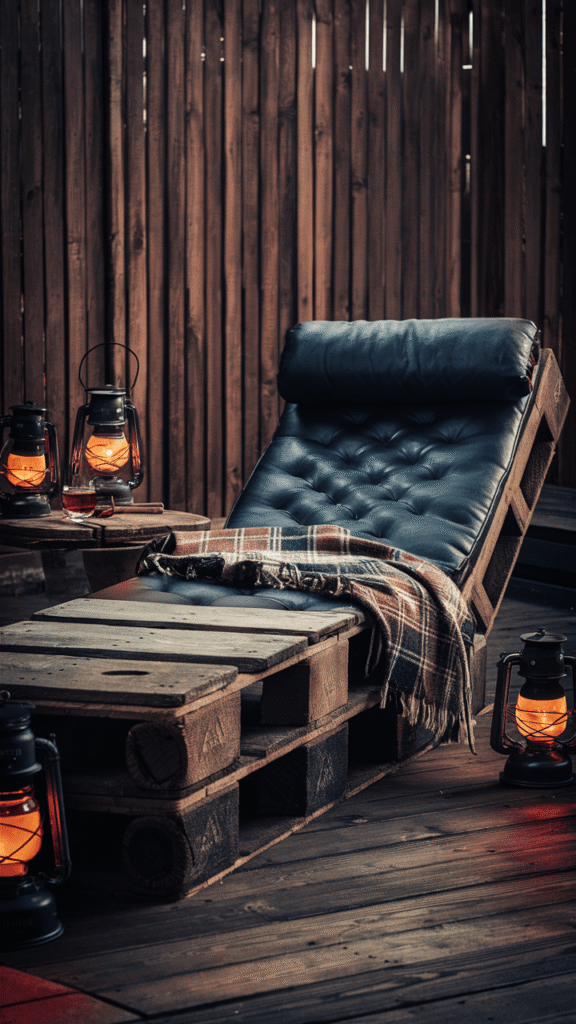
If you’re dreaming of a comfortable, stylish place to lounge outdoors, a DIY Pallet Chaise Lounge is the ideal project. This rustic yet functional chaise lounge can be built affordably with repurposed wood pallets, creating a cozy spot for sunbathing, reading, or relaxing in your backyard, garden, or patio.
This step-by-step guide will walk you through the process, from choosing the right materials to customizing the chaise lounge for a comfortable, inviting outdoor retreat.
Contents
Why Build a Pallet Chaise Lounge?
A pallet chaise lounge is a fantastic DIY project with many benefits, making it an excellent choice for outdoor relaxation:
- Budget-Friendly: Using pallets keeps the project affordable, making it accessible for anyone looking to save on outdoor furniture.
- Eco-Friendly: Repurposing pallets gives old wood new life, promoting sustainability.
- Customizable: You can adjust the chaise length, color, and cushions to fit your outdoor decor and personal style.
- Comfortable Outdoor Lounging: A chaise lounge adds a relaxing space to your outdoor area, perfect for unwinding in the sun.
Step-by-Step Guide to Building Your Pallet Chaise Lounge
Materials Needed
- Wooden pallets (3–4, depending on desired size)
- Sandpaper (coarse and fine grit) or a power sander
- Screws, nails, and screwdriver
- Hinges (for adjustable backrest)
- Outdoor wood stain or paint (optional)
- Outdoor cushions or foam padding
Step 1: Choose and Prepare Your Pallets
Begin by selecting pallets that are in good condition and free of mold or cracks. Sand each pallet thoroughly to remove any rough edges, making it safe and comfortable to use.
- Sanding Process: Start with coarse-grit sandpaper to smooth out rough areas, then finish with fine-grit sandpaper for a polished surface.
- Rustic or Smooth Finish: For a rustic look, lightly sand to keep some natural texture. For a smoother finish, spend more time sanding all surfaces.
Tip: A power sander can speed up the process and ensure an even finish across all pallets.
Step 2: Build the Base
To create the base of your chaise lounge, stack two pallets horizontally and secure them with screws. This will provide a sturdy foundation for your lounge, keeping it off the ground and allowing for airflow.
- Extra Stability: If you want a higher lounge, stack a third pallet on top of the base pallets and secure them with screws.
- Optional Legs: For a more elevated look, consider attaching short legs to the bottom of the base pallets.
Step 3: Create the Adjustable Backrest
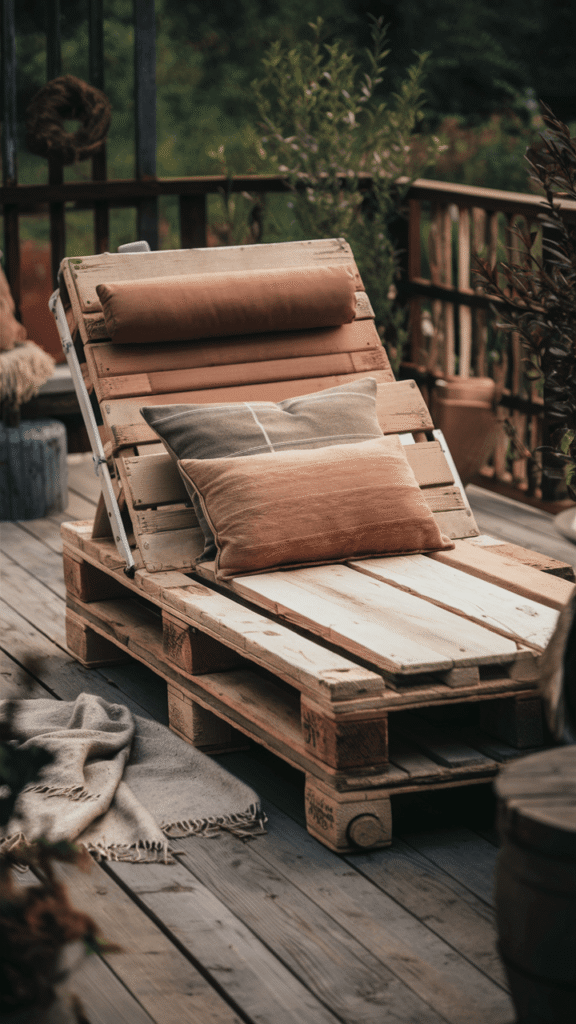
The backrest is essential for comfort and adjustability. Use a separate pallet or half-pallet as the backrest. Attach it to the base with sturdy hinges, allowing it to recline at different angles.
- Attach the Hinges: Place hinges on either side of the backrest pallet and connect them to the base at the desired angle.
- Support Bracket: Consider adding a support bracket or chain to keep the backrest stable when reclined.
Tip: Test the recline before finalizing to make sure it’s comfortable and stable.
Step 4: Stain or Paint the Wood (Optional)
Applying a stain or paint to your chaise lounge not only enhances its look but also helps protect the wood from the elements.
- Natural Stain: Use a wood stain to bring out the natural texture for a classic, rustic appearance.
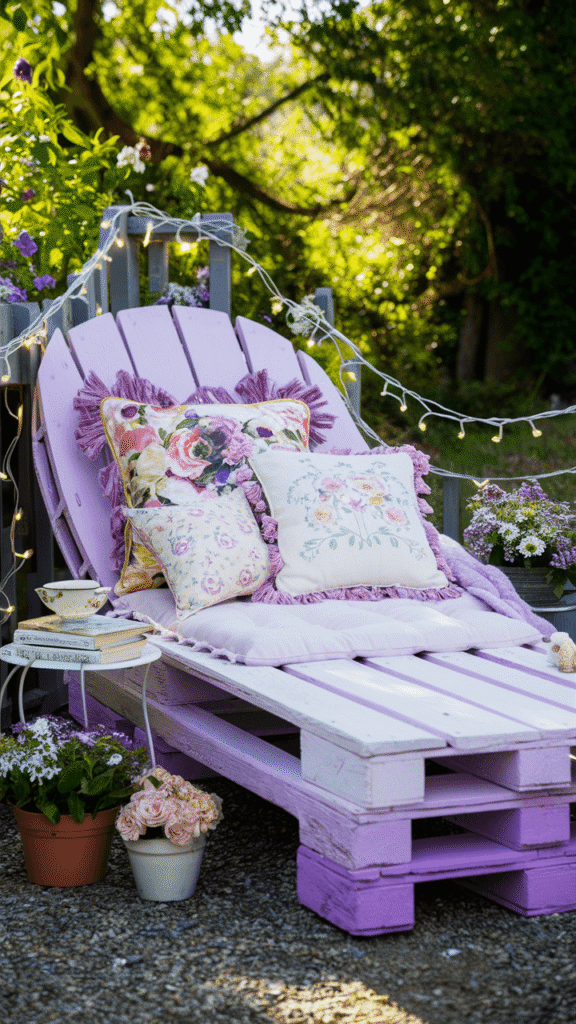
- Bright Paint: For a pop of color, paint the lounge to match your outdoor decor or add a fun contrast.
Tip: After staining or painting, apply an outdoor sealant to protect the wood from moisture and sunlight, ensuring long-lasting durability.
Step 5: Add Cushions and Padding for Comfort
Outdoor cushions or foam padding will make your chaise lounge a cozy, comfortable spot for lounging. Look for weather-resistant cushions that can withstand sun and moisture.
- Outdoor Cushion: Place a long cushion that fits the chaise length or use multiple smaller cushions for added comfort.
- Foam Padding: Cut foam padding to fit the seat and backrest, covering it with waterproof fabric that matches your decor.
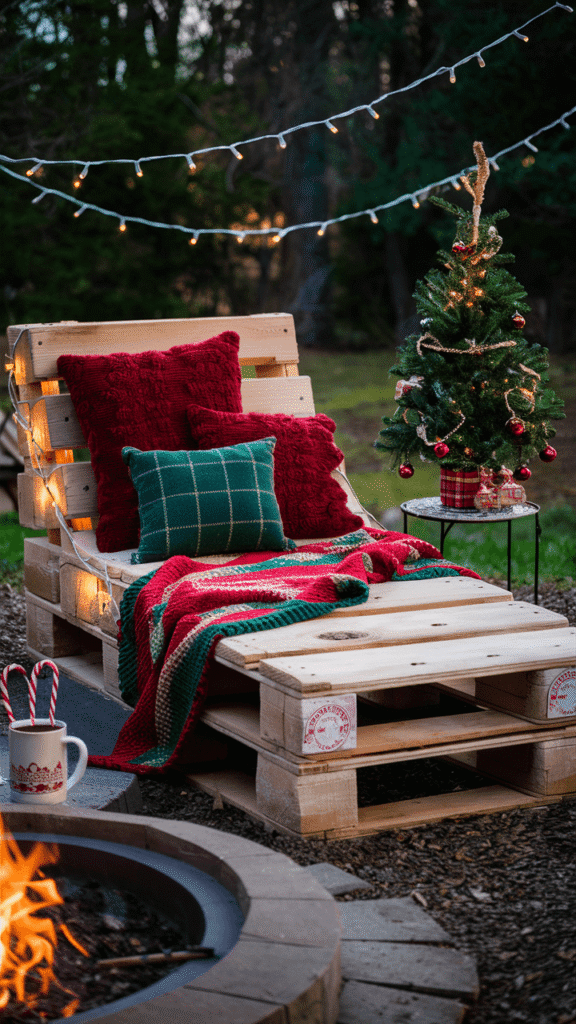
Style Tip: Add a throw blanket and a few decorative pillows to give your lounge a welcoming, luxurious look.
Benefits of a DIY Pallet Chaise Lounge
A DIY Pallet Chaise Lounge offers both style and comfort, making it a great addition to any outdoor space. Here are some benefits:
- Cost-Effective: This project provides a high-quality outdoor lounge at a fraction of the cost of store-bought furniture.
- Eco-Friendly Choice: Using reclaimed pallets is an eco-conscious way to furnish your outdoor area.
- Personalized Design: Customize the look, color, and cushioning to suit your taste and match your outdoor setting.
Ideas to Complete Your Outdoor Lounge Area
To create a fully furnished outdoor area, consider adding complementary DIY pallet furniture projects alongside your chaise lounge. Here are some ideas:
- Outdoor Pallet Bar – Perfect for serving refreshing drinks while lounging.
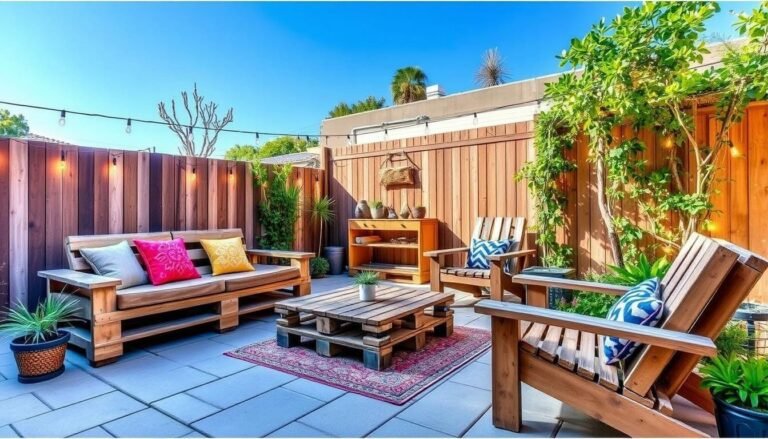
- Rustic Pallet Coffee Table – A convenient spot for books, drinks, or snacks beside your lounge.
- Pallet Sectional Sofa with Storage – Add extra seating and storage space for blankets, towels, or outdoor essentials.
- Pallet Swing Sofa – Create a fun, relaxing space nearby, ideal for enjoying time with friends and family.
These additions can help you build a cohesive, stylish, and functional outdoor area.
Maintenance Tips for Your Pallet Chaise Lounge
To ensure your lounge stays in great condition over time, follow these maintenance tips:
- Apply Sealant Annually: Refresh the wood with a coat of outdoor sealant each year to protect against weather damage.
- Use a Cover in Harsh Weather: Protect your lounge from heavy rain or winter elements with a weatherproof cover.
- Clean Regularly: Wipe down the wood and cushions with a damp cloth to remove dust and debris, keeping it looking fresh.

Ready to Build Your Pallet Chaise Lounge?
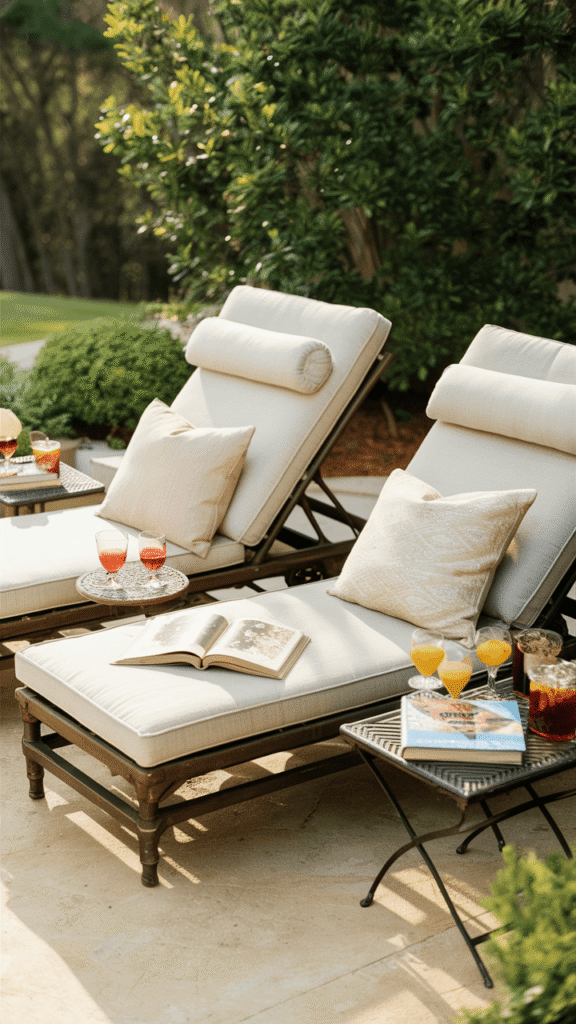
A pallet chaise lounge is a simple yet rewarding project that adds style, comfort, and relaxation to your outdoor space. With a few pallets, basic tools, and some creativity, you can create a cozy, inviting retreat perfect for enjoying the sun or unwinding with a good book.
📌 Pin It for Later & Share on Social Media
If this guide has inspired you, don’t forget to pin it on Pinterest for future reference! Share your completed project on social media and tag us to show off your new outdoor chaise lounge.
For more Pallet Projects, visit:
DIY Pallet Lounge Sofa Set: Transform Your Outdoor Space on a Budget
DIY Outdoor Pallet Dining Set: Create a Rustic Dining Space on a Budget
To bring you cozy inspiration more efficiently, we sometimes use AI to assist in content creation — but every word and idea is carefully shaped by our team. See our AI Disclosure for more info.

