This post may contain affiliate links. If you click and buy, we may earn a small commission at no extra cost to you. Learn more.
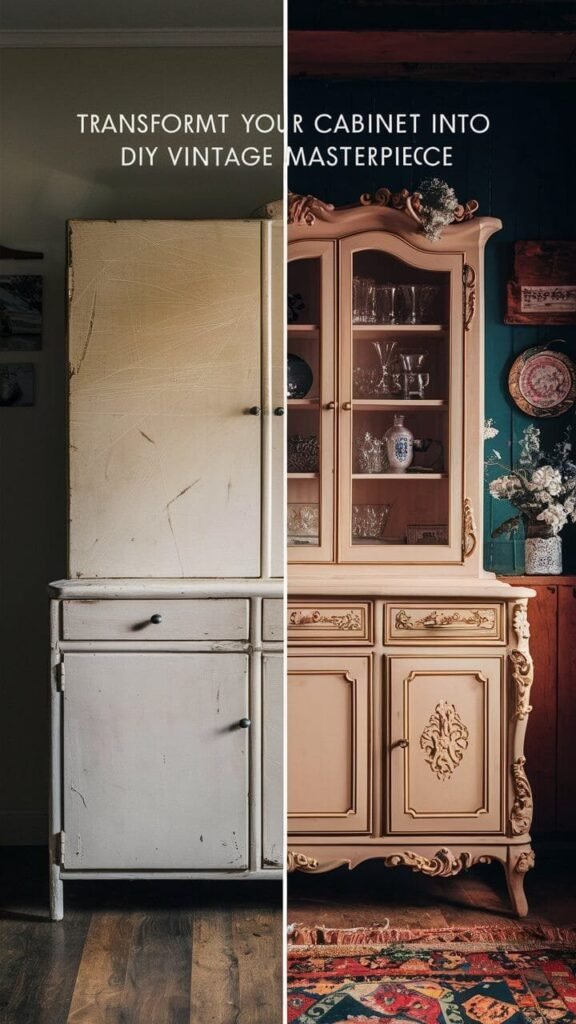
Hey there! Are you dreaming of giving your home that warm, timeless charm that only vintage-style furniture can bring? The good news is, you don’t need to spend a fortune hunting down antiques or paying for pricey new pieces. With a little creativity and effort, you can achieve a stunning vintage cabinet look on a budget. Today, I’ll walk you through step-by-step tips, tricks, and ideas to transform your cabinets into works of art. Let’s roll up our sleeves and get started!
Contents
- 1 Why Go for a Vintage Cabinet Look?
- 2 Step 1: Start with the Right Piece
- 3 Step 2: Prep Your Cabinet
- 4 Step 3: Choose Your Finish
- 5 Step 4: Add Vintage Details
- 6 Step 5: Style Your Cabinet
- 7 Budget-Friendly Shopping Tips
- 8 Inspiration for Your Next Project
- 9 Final Thoughts
- 10 Looking for More Woodworking Projects? 🛠️
Why Go for a Vintage Cabinet Look?

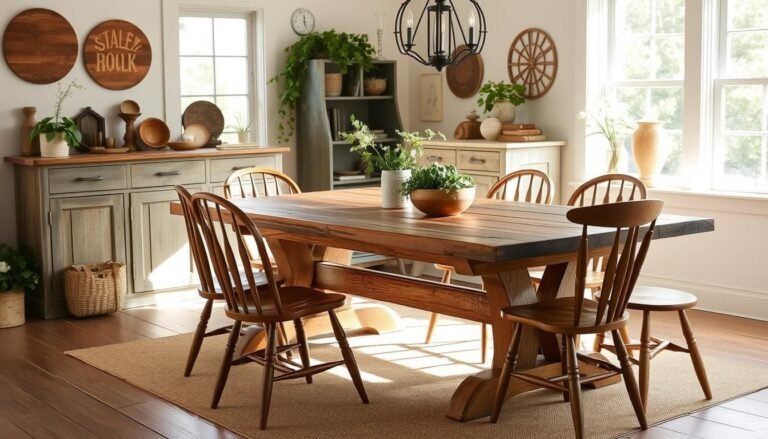
Vintage cabinets are a great way to add character and personality to your home. They can bring a nostalgic charm, a cozy atmosphere, or even a little rustic edge depending on your style. Plus, vintage-inspired pieces tend to be versatile—they fit beautifully into almost any room, from kitchens to living rooms to bathrooms.
But here’s the real magic: creating a vintage cabinet look isn’t just about making your home beautiful. It’s about telling a story. That slightly worn paint? It whispers of a time gone by. The retro hardware? It’s a nod to craftsmanship that stands the test of time. And the best part? You can do it all without breaking the bank.
Step 1: Start with the Right Piece
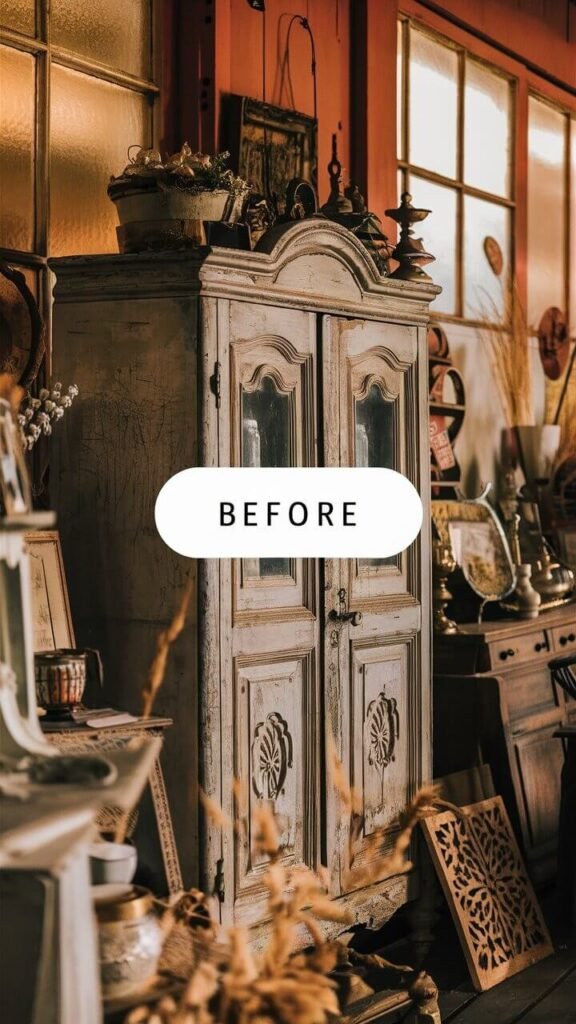
First things first—you need a cabinet. You can use an old piece you already own or find a budget-friendly option at a thrift store, flea market, or even on Facebook Marketplace. Look for something with a simple shape, sturdy construction, and lots of potential.
Pro Tip: Don’t worry about scratches or dents. Imperfections add to the vintage charm. In fact, a well-loved cabinet with a little wear and tear often works better than something brand new!
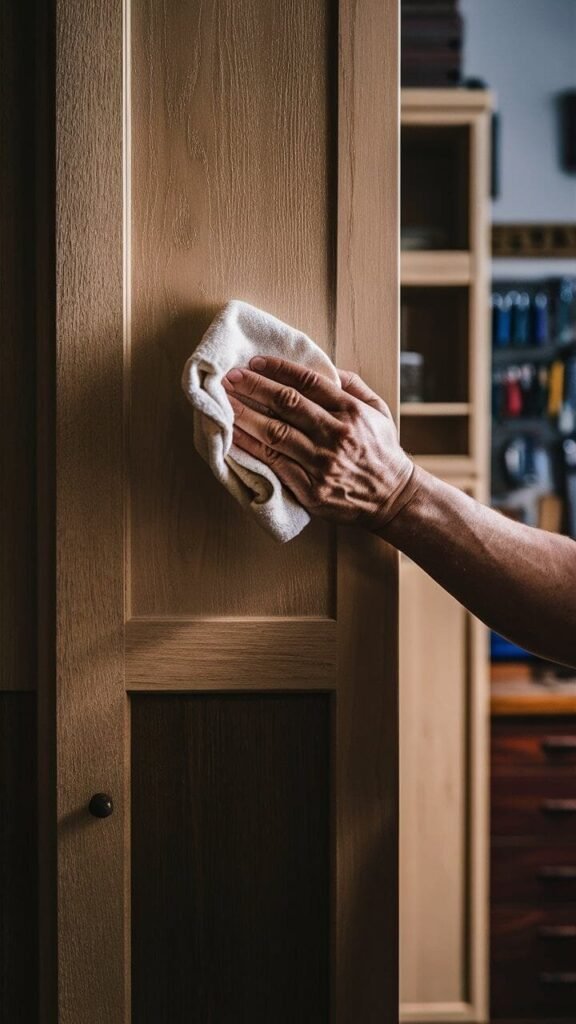
Step 2: Prep Your Cabinet
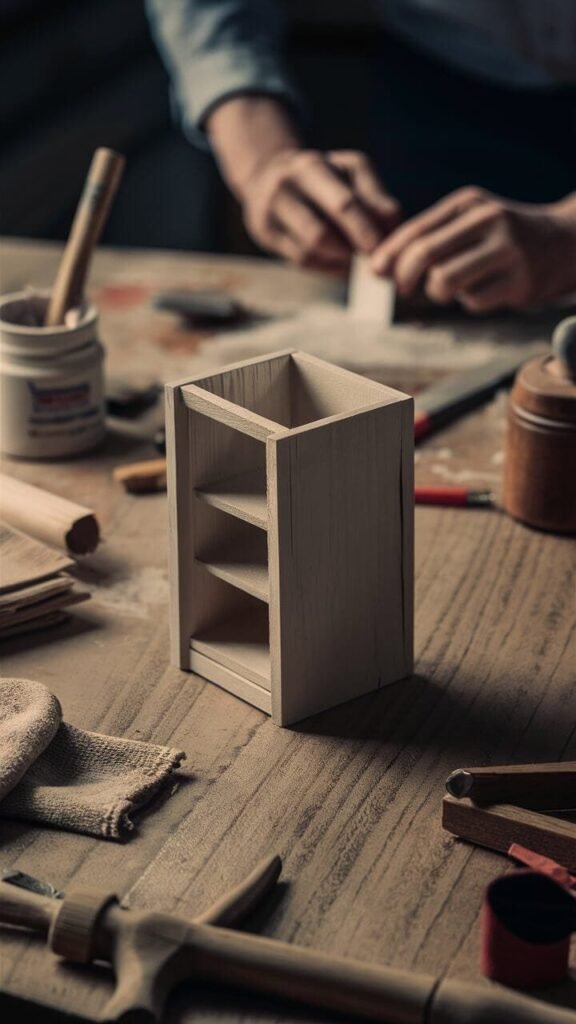
Before you dive into painting or staining, you’ll need to prep your cabinet. This step is crucial to ensure your work holds up over time and looks professional.
- Clean It Up: Give the cabinet a good scrub with a gentle degreaser to remove dust, grime, and any residue from previous finishes. Vintage pieces can be surprisingly dirty, so don’t skip this!
- Sanding Magic: Sand the surface lightly to create a smooth base. If the cabinet has an existing finish, you’ll need to sand a bit more to help the new paint or stain stick. Pay extra attention to corners and edges—they’re key for creating that “naturally worn” vintage look.
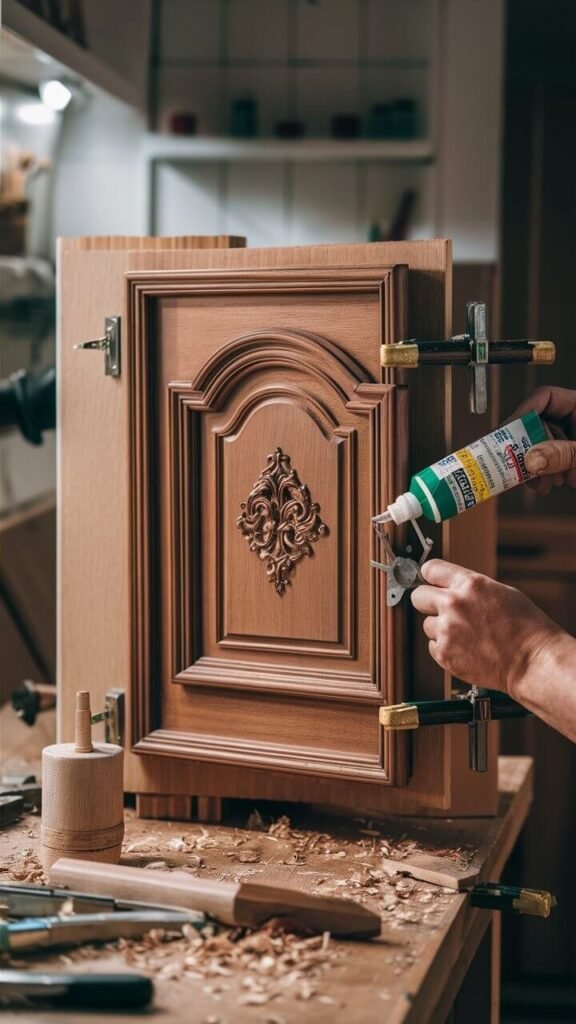
- Fix What’s Broken: Tighten any loose hinges, glue wobbly joints, and fill in cracks with wood filler if needed. A solid foundation makes all the difference.
Step 3: Choose Your Finish
Now for the fun part—deciding how to finish your cabinet! There are so many ways to create a vintage look, and the choice really depends on the style you love. Here are a few budget-friendly options to inspire you:
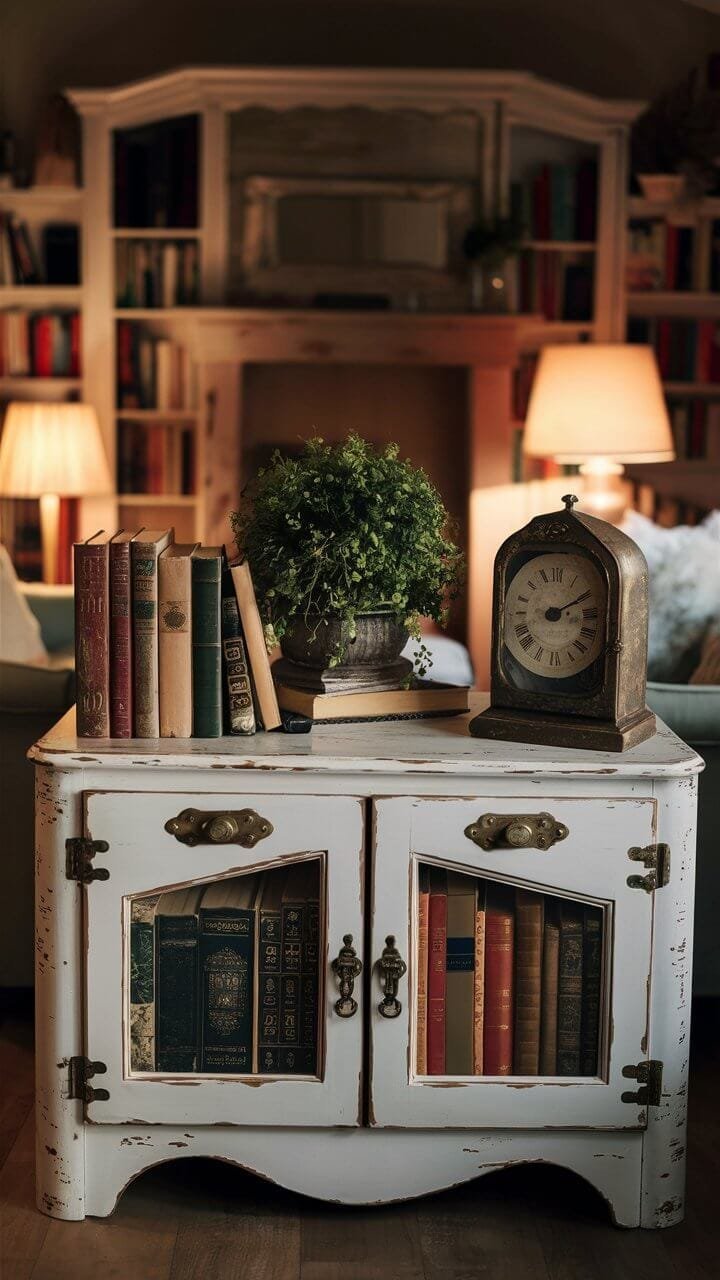
Distressed Paint
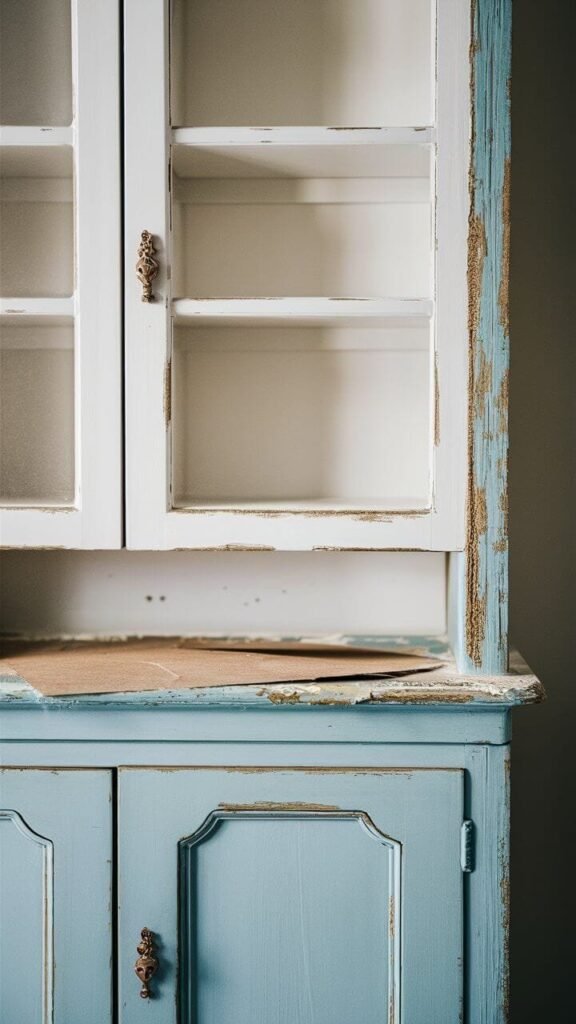
Distressed cabinets are a hallmark of vintage style. This technique gives your piece a worn, weathered appearance that feels like it’s been loved for decades.
- How to Do It: Choose two contrasting paint colors, like white over a soft pastel or cream over gray. Apply the base coat first, let it dry, then add the top coat. Once the paint is completely dry, gently sand the edges and corners with fine-grit sandpaper to reveal hints of the base color underneath.
- Extra Charm: Try using a crackle medium between coats for an aged, crackled finish.
Rustic Staining
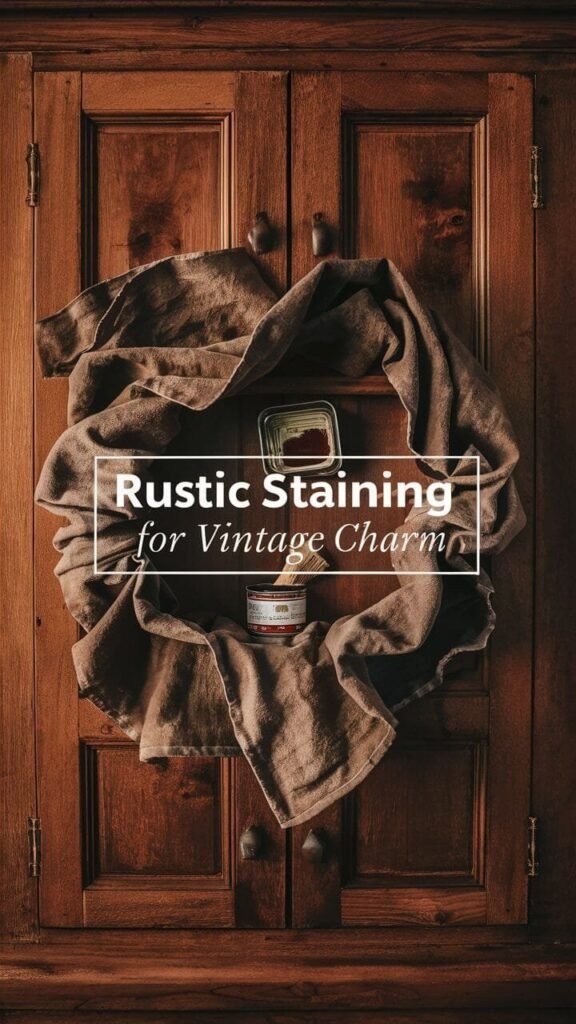
If you prefer a more natural look, staining is a great option. It enhances the wood grain and gives your cabinet a warm, rustic vibe.
- How to Do It: Apply a wood stain with a cloth or brush, then wipe away the excess to avoid streaks. Darker stains like walnut or mahogany create a richer, antique look, while lighter stains feel fresh and understated.
- Budget Tip: Mix leftover stains from other projects to create a custom color for free!
Wax Finish
Wax finishes are perfect for softening the look of a cabinet and adding a subtle sheen. Clear wax keeps things simple, while dark wax can create shadows and depth for a more dramatic effect.
- How to Do It: Apply the wax with a soft cloth, working it into the wood in circular motions. Let it set, then buff with a clean cloth until smooth.
Step 4: Add Vintage Details
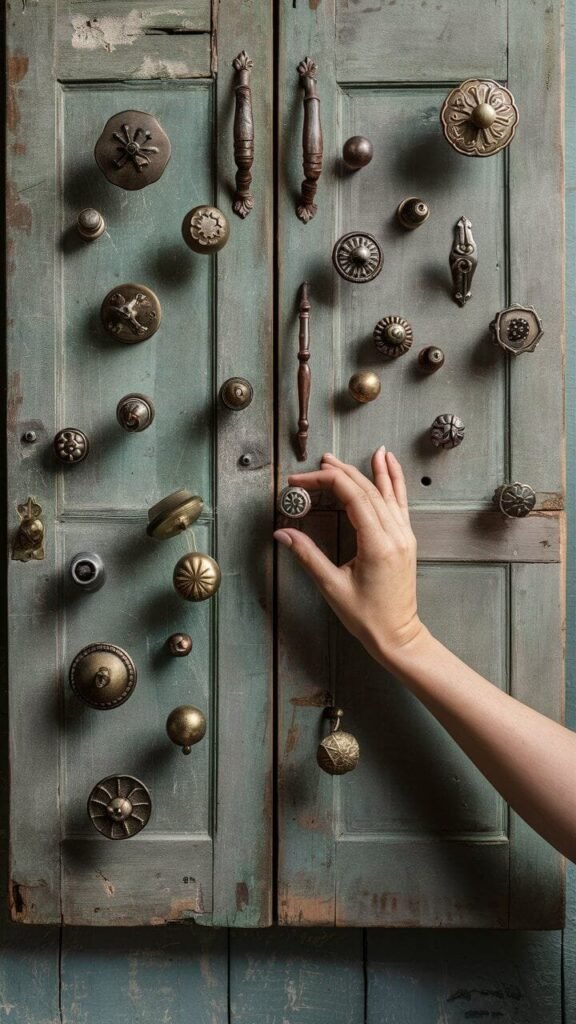
Here’s where your cabinet really starts to shine! Adding the right details can take your piece from “just okay” to “wow, that’s amazing!”
- Swap Out the Hardware: One of the easiest ways to give your cabinet a vintage vibe is by replacing the knobs and pulls. Look for hardware with intricate designs, worn finishes, or a retro feel.
- Decorative Moldings: Attach inexpensive wood trim or appliques to the cabinet’s edges for a touch of elegance. Paint or stain them to match your piece.
- Stencils and Decals: Add patterns like florals or geometric designs to your cabinet doors using stencils or decals. This is a simple way to add personality without spending a lot.
Step 5: Style Your Cabinet
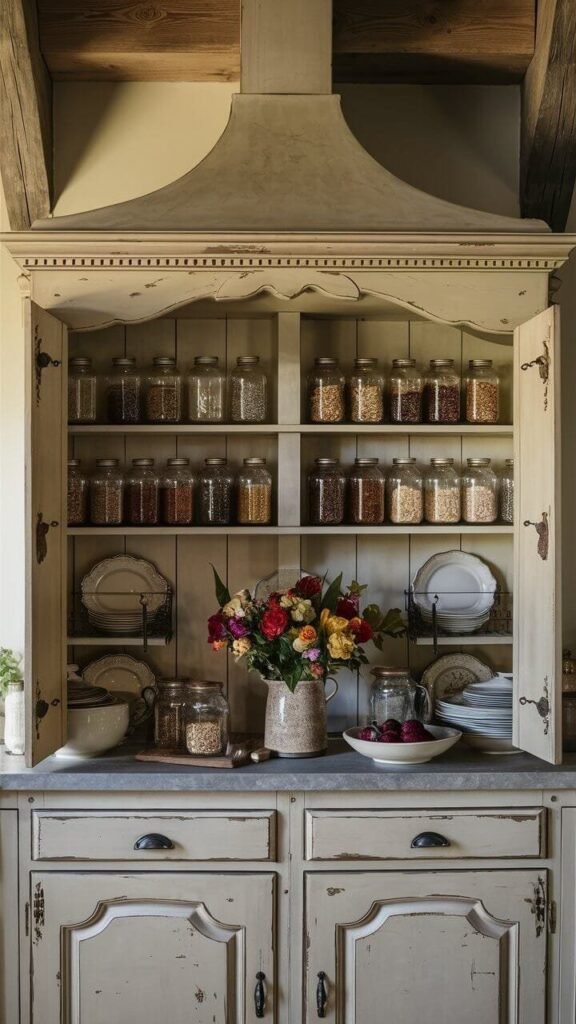
Now that your cabinet is looking fabulous, it’s time to style it in your home.
- In the Kitchen: Use your vintage cabinet to display pretty dishes, mason jars, or even cookbooks.
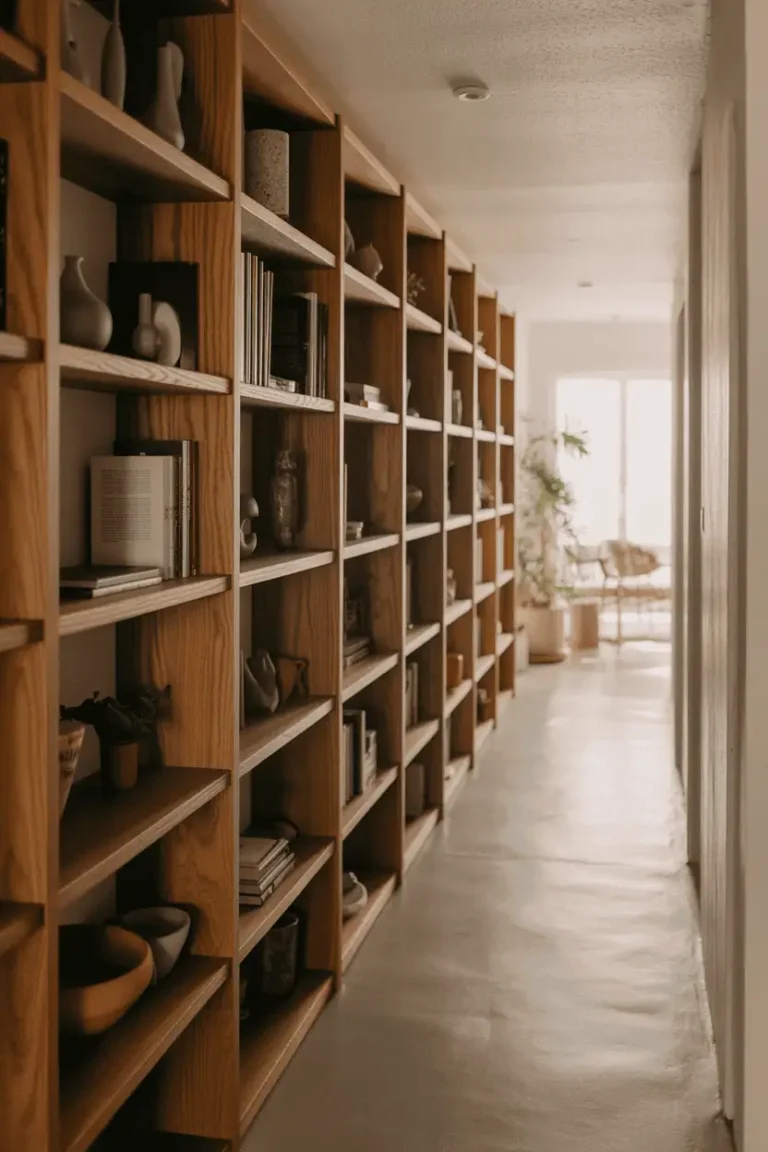
- In the Living Room: Style it with a mix of books, plants, and framed photos for a cozy, lived-in look.
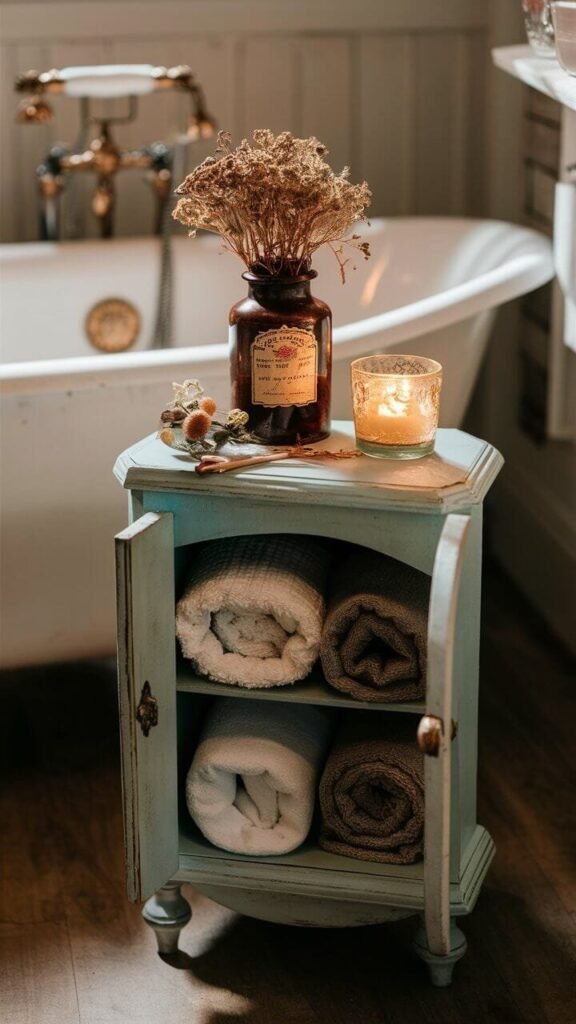
- In the Bathroom: Turn it into a chic storage solution for towels, candles, and apothecary jars filled with bath salts.
Budget-Friendly Shopping Tips
Creating a vintage cabinet look doesn’t mean spending big bucks. Here are a few ways to save:
- Thrift Stores Are Your Friend: You can often find inexpensive cabinets and hardware at secondhand shops.
- DIY Supplies: Use leftover paint, stain, or materials from other projects. It’s amazing what you can create with what you already have.
- Upcycle: Think outside the box! Old bookshelves, dressers, or even crates can be transformed into stunning vintage-inspired cabinets.
Inspiration for Your Next Project
If you’re feeling inspired, why stop at just one cabinet? Check out our guide on Repurposing Old Bookshelves into Stunning Cabinets for your next budget-friendly project. It’s packed with ideas to help you get creative and make the most of what you have.
Final Thoughts
Creating a vintage cabinet look is about more than just aesthetics—it’s about bringing warmth, character, and personality into your home. And the best part? You don’t need a huge budget or professional skills to make it happen. With a little effort and creativity, you can turn any cabinet into a piece that looks like it has a rich history (even if you just finished it last weekend).
So, what are you waiting for? Grab your tools, unleash your creativity, and start your vintage cabinet makeover today. I promise, once you see the results, you’ll wonder why you didn’t try it sooner.
Which cabinet finish are you most excited to try? Let me know—I’d love to hear about your projects!
Looking for More Woodworking Projects? 🛠️
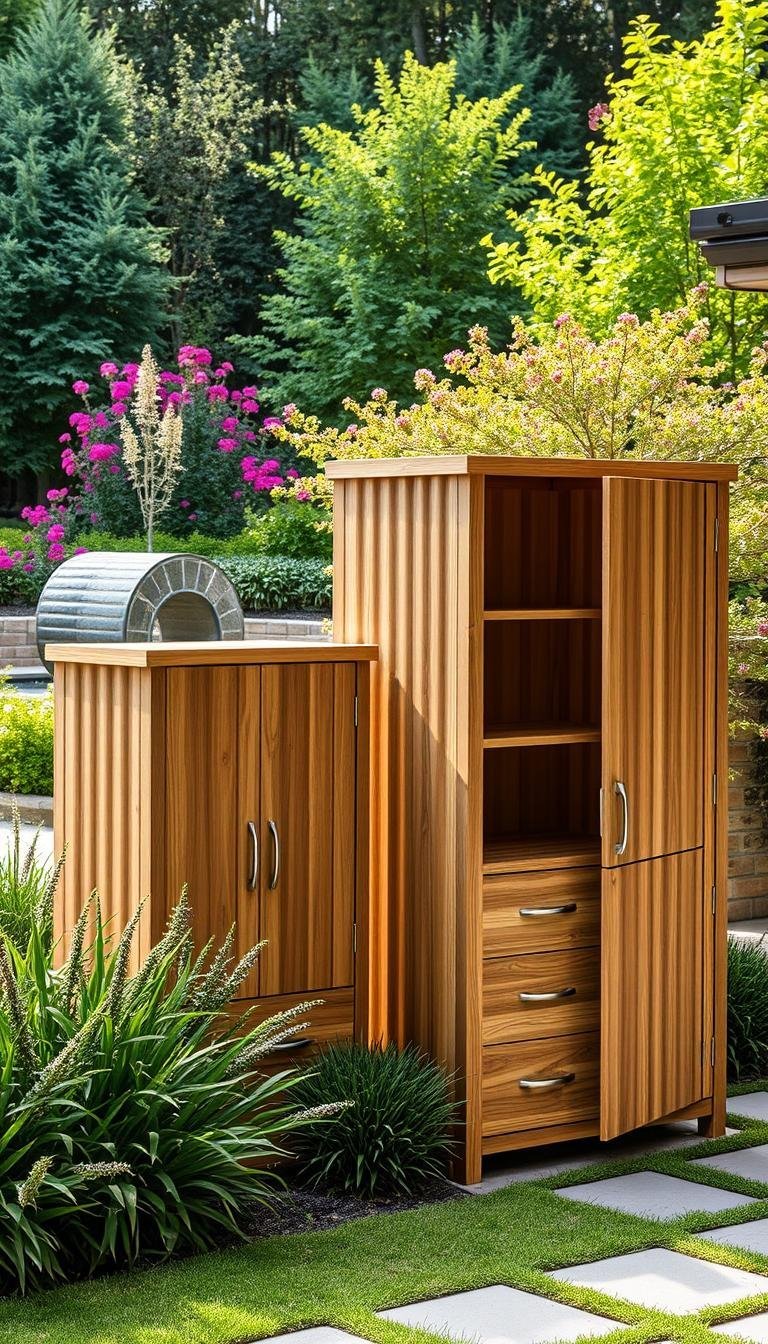
If you’re passionate about woodworking and ready to tackle a variety of projects, Ted’s Woodworking Plans offers over 16,000 detailed plans for all skill levels. From furniture to garden projects and everything in between, these plans include step-by-step instructions, materials lists, and 3D schematics to make every build easier.
Whether you’re a beginner or experienced woodworker, this collection is an incredible resource to expand your skills and bring your ideas to life. Click below to explore Ted’s Woodworking Plans and discover your next project!

To bring you cozy inspiration more efficiently, we sometimes use AI to assist in content creation — but every word and idea is carefully shaped by our team. See our AI Disclosure for more info.