This post may contain affiliate links. If you click and buy, we may earn a small commission at no extra cost to you. Learn more.
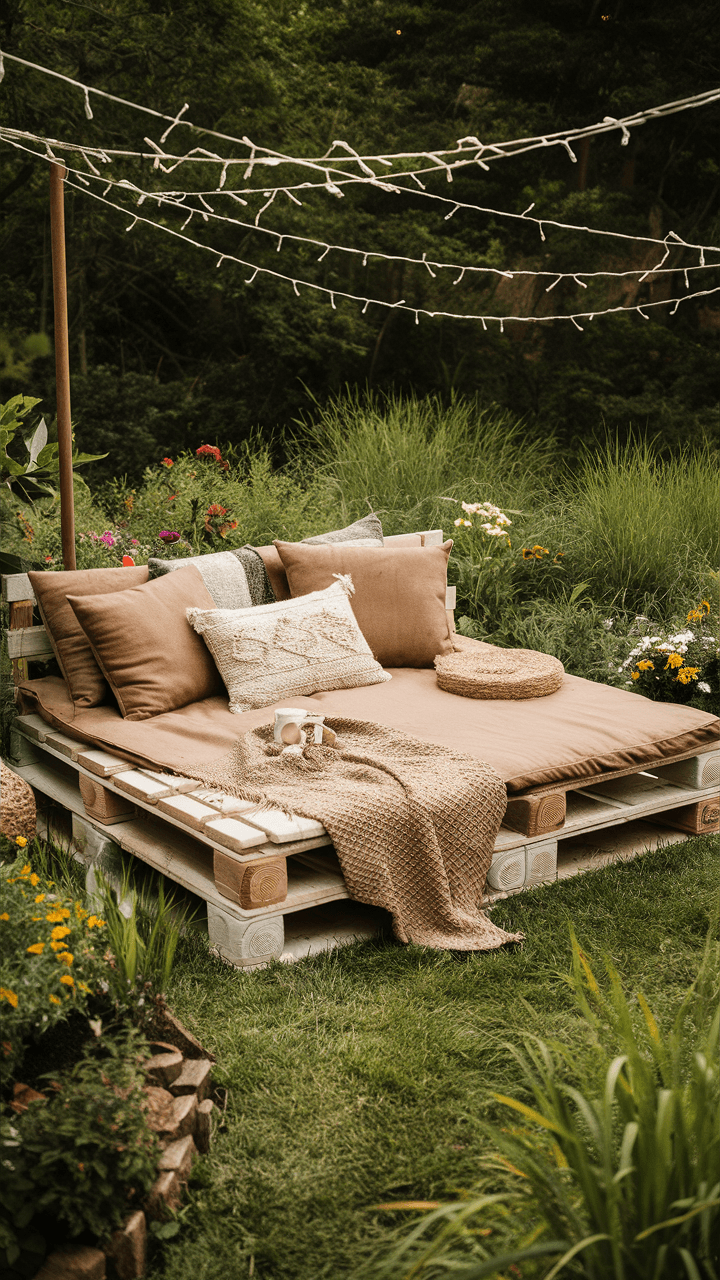
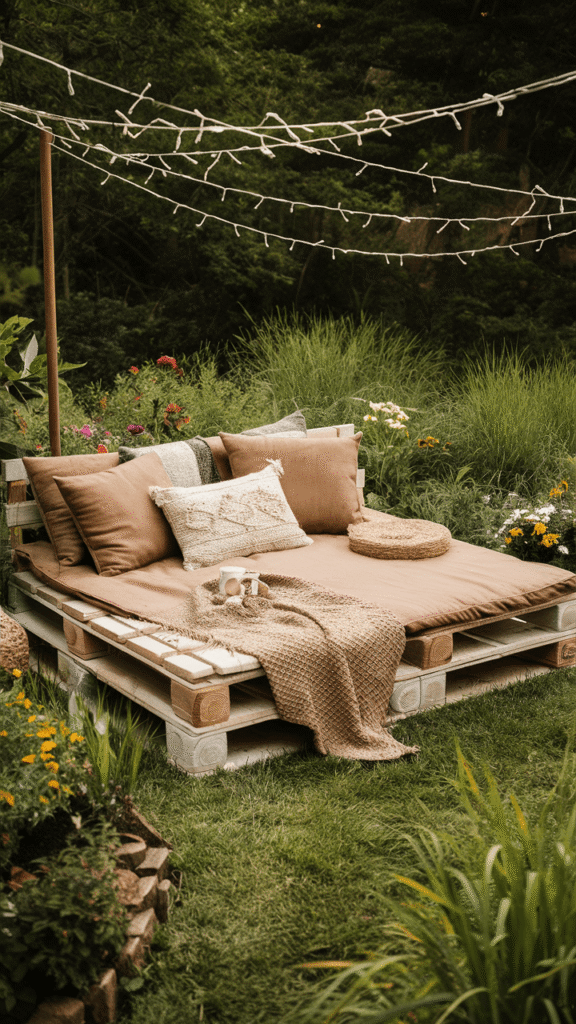
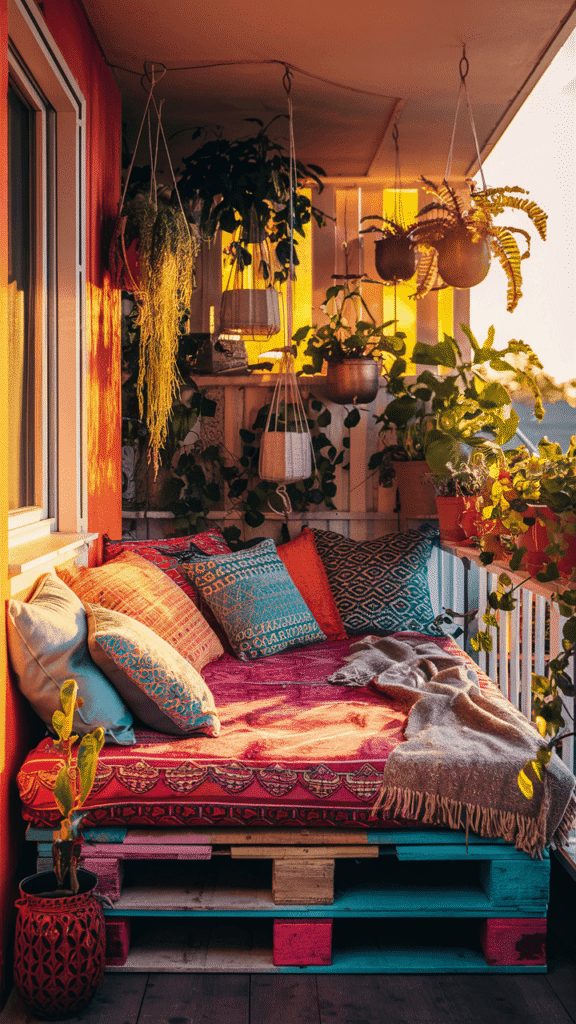
Transforming your backyard or patio into a relaxing retreat doesn’t have to break the bank. With this DIY Pallet Daybed project, you’ll learn how to create a cozy, stylish daybed using repurposed wood pallets. Perfect for napping, sunbathing, or curling up with a good book, this pallet daybed combines comfort and functionality with a rustic, eco-friendly touch.
This step-by-step guide covers everything from choosing the right materials to assembling and customizing your daybed. By the end, you’ll have a beautiful, budget-friendly addition to your outdoor space.
Contents
Why Build a Pallet Daybed?
Building a pallet daybed is a great project for several reasons:
- Affordable: Using pallets makes this project a cost-effective alternative to store-bought outdoor furniture.
- Eco-Friendly: Repurposing pallets helps reduce waste, making this an environmentally conscious choice.
- Customizable: You can adjust the size, color, and cushions to suit your outdoor decor and style.
- Comfortable and Functional: A daybed adds a luxurious touch to your outdoor area, perfect for relaxation.
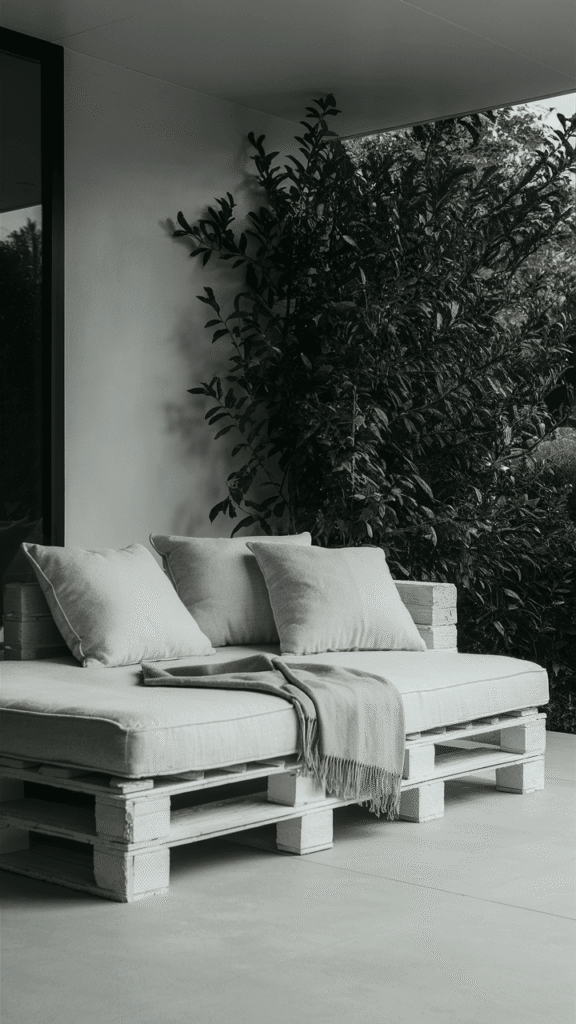
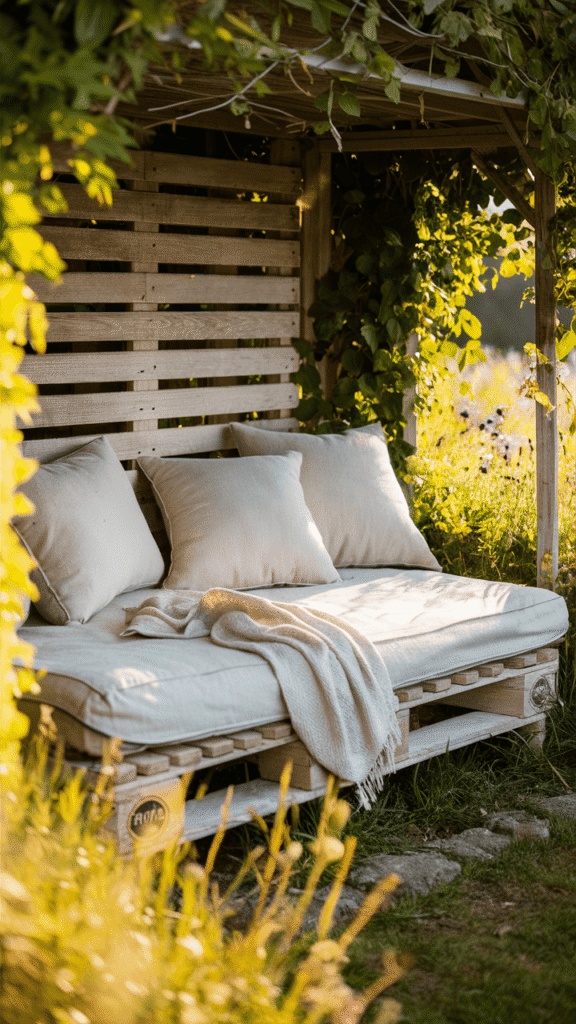
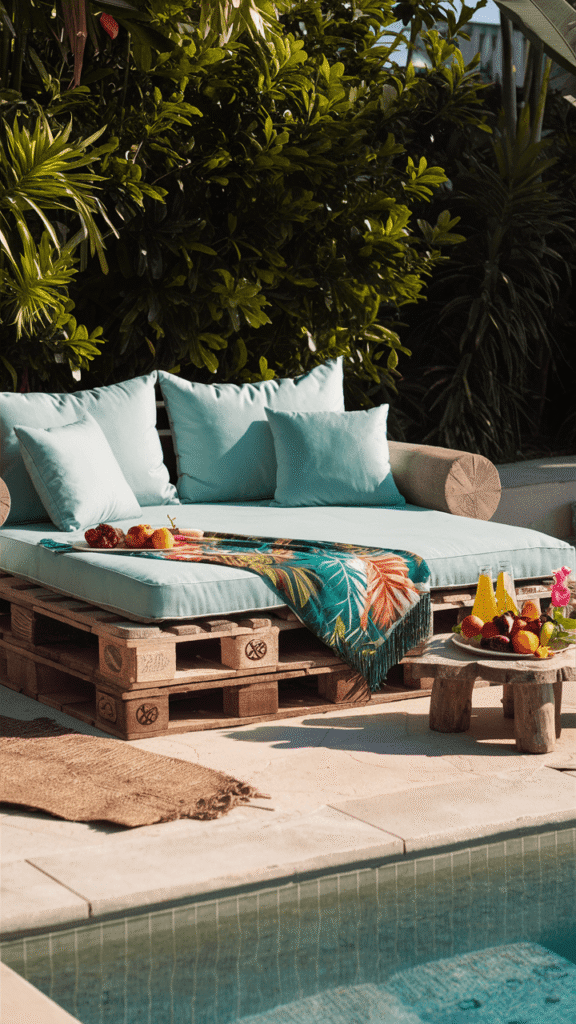
Step-by-Step Guide to Building a Pallet Daybed
Materials Needed
- Wooden pallets (2–4, depending on desired bed size)
- Sandpaper (coarse and fine grit) or a power sander
- Screws, nails, and screwdriver
- Outdoor wood stain or paint (optional)
- Outdoor cushions, mattress, or foam padding
- Wheels or legs (optional, if you want mobility or extra height)
Step 1: Choose and Prepare the Pallets
Start by selecting pallets that are in good condition, free from cracks, mold, or large splinters. Sand each pallet thoroughly to create a smooth, safe surface.
- Sanding Process: Begin with coarse-grit sandpaper to remove rough areas and then finish with fine-grit sandpaper for a polished surface.
- Rustic or Polished Finish: For a rustic look, lightly sand the pallets to maintain some texture. For a smoother finish, spend extra time sanding all surfaces.
Tip: Using a power sander will speed up the process and ensure a more even finish.
Step 2: Build the Base
Stack two pallets horizontally to create the base of the daybed. Secure them together with screws for stability.
- Adjust Height: If you prefer a taller bed, add another pallet layer or attach short legs or wheels for elevation.
- Attach Wheels (Optional): For added functionality, attach wheels to the bottom pallet, allowing you to move the daybed around your outdoor space.
Safety Note: Make sure each pallet is securely fastened to prevent shifting, especially if you add extra layers.
Step 3: Create the Backrest (Optional)
If you’d like a backrest, use an additional pallet or a half-pallet. Attach it to one end of the base at a slight angle, securing it with screws.
- Recline Angle: Test the angle of the backrest to ensure it’s comfortable before fully securing it.
- Add Support Brackets: For extra stability, consider adding support brackets where the backrest meets the base.
Tip: You can skip this step if you prefer a flat daybed without a backrest.
Step 4: Stain or Paint the Wood (Optional)
Adding a stain or paint will enhance the look of your daybed and help protect it from the elements.
- Natural Stain: A clear or lightly tinted wood stain will highlight the wood’s natural grain, giving the daybed a rustic, earthy look.
- Colorful Paint: For a fun, modern touch, paint the pallets in a color that complements your outdoor decor.
Tip: After staining or painting, apply an outdoor sealant to protect the wood from moisture and sunlight.
Step 5: Add a Mattress or Cushions
To make the daybed comfortable, add an outdoor mattress, foam padding, or a combination of large cushions. Look for weather-resistant materials to ensure durability.
- Outdoor Mattress: A twin-size outdoor mattress works well for this setup, providing a comfortable lounging surface.
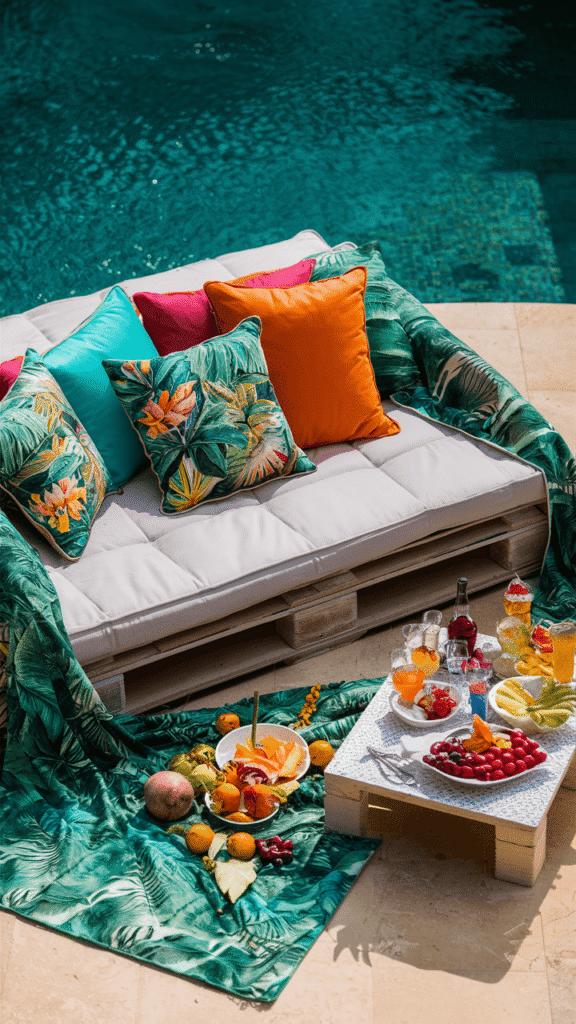
- Foam Padding and Cushions: Alternatively, use a thick foam pad and cover it with waterproof fabric, adding throw pillows for extra comfort.
Style Tip: Choose cushions and pillows in colors or patterns that complement your outdoor decor and add a touch of personality.
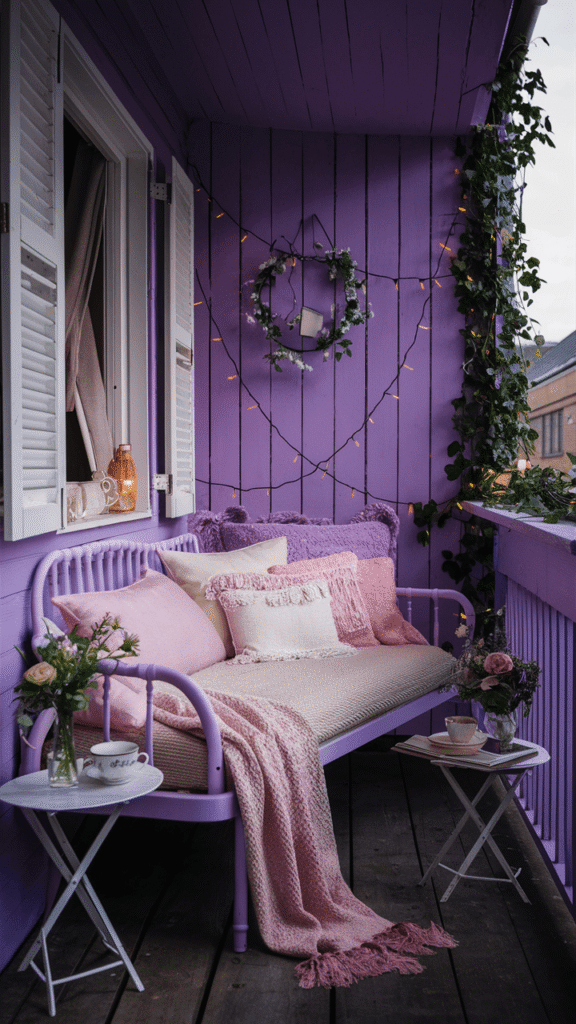


Benefits of a DIY Pallet Daybed
A DIY Pallet Daybed adds comfort and style to your outdoor space, offering a unique spot for relaxation. Here are some benefits of this project:
- Cost-Effective Solution: You can create a stylish, comfortable daybed for a fraction of the cost of store-bought furniture.
- Eco-Friendly Design: Repurposing pallets is a sustainable option that reduces waste.
- Versatile Outdoor Furniture: A pallet daybed works well on patios, decks, or gardens, providing a cozy spot for reading, sunbathing, or napping.
Ideas to Complete Your Outdoor Lounge Area
Pair your pallet daybed with other DIY pallet furniture projects to create a fully furnished outdoor retreat. Here are some ideas:
- Pallet Coffee Table – Ideal for placing drinks, books, or snacks next to your daybed.
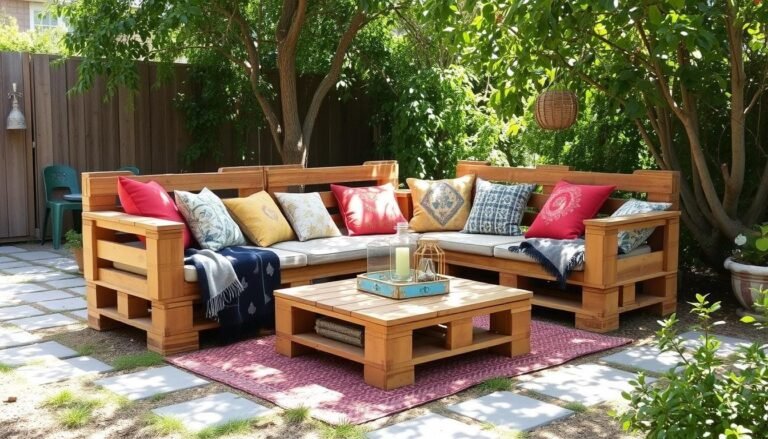
- Pallet Swing Sofa – Adds an inviting touch nearby for extra seating and a relaxing vibe.
- Pallet Fire Pit Seating – Perfect for cool evenings, adding warmth and ambiance to your outdoor setup.
- Compact Pallet Bistro Set – Great for a small dining area, providing a spot for enjoying meals outdoors.
These additional projects can help you create a cohesive, inviting outdoor area for relaxation and entertainment.
Maintenance Tips for Your Pallet Daybed
To keep your daybed looking great and extend its life, follow these maintenance tips:
- Apply Sealant Annually: Reapply an outdoor sealant each year to protect the wood from weather and wear.
- Use a Cover During Harsh Weather: Cover the daybed during rainy or winter months to protect both the wood and cushions.
- Clean Regularly: Wipe down the pallets and cushions to remove dust and debris, keeping the daybed fresh and ready for use.
Ready to Build Your Pallet Daybed?
Building your own pallet daybed is a fun and rewarding project that adds a stylish, comfortable element to your outdoor space. With just a few pallets, some basic tools, and a bit of creativity, you can create a relaxing spot to unwind and enjoy the outdoors.
📌 Pin It for Later & Share on Social Media
If this guide has inspired you, don’t forget to pin it on Pinterest for future reference! Share your completed project on social media and tag us to show off your new outdoor daybed.
For more Pallet Projects, visit:
DIY Pallet Lounge Sofa Set: Transform Your Outdoor Space on a Budget
DIY Outdoor Pallet Dining Set: Create a Rustic Dining Space on a Budget
To bring you cozy inspiration more efficiently, we sometimes use AI to assist in content creation — but every word and idea is carefully shaped by our team. See our AI Disclosure for more info.

